#RoyalWedding! Celebrate with some artsyletters Fun!


Feeling Royal?  Here are a few new offerings to celebrate British roots:

Click here to see on Etsy!

Click here to see on Etsy!

I came across these wonderful vintage brass stampings of the British Royal Coat of Arms (“Royal Arms”) and had to do something with them!  I’ve made three of these pins/bag tags.  The pin is an antique/vintage brass laundry pin, probably from the 1910s and military, according to vendor.  It’s heavy duty.  I’ve attached the stamping with a large brass ring from an old clock chain.  Cheers!

Click to see on Etsy!

Click to see on Etsy!

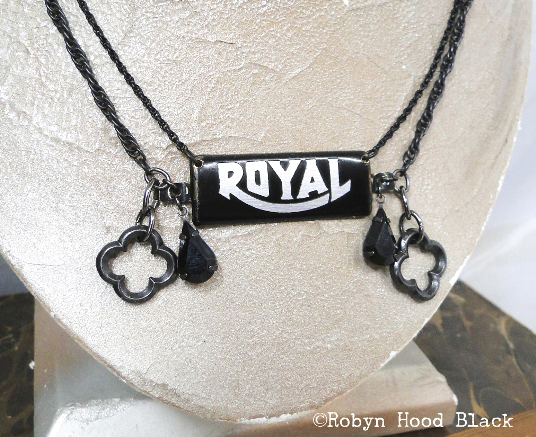
This “Royal” necklace makes a fun statement for typewriter fans.  The vintage Royal name plate has been attached to two black rope chains and flanked with vintage black Swarovski crystal drops and fun pewter quatrefoil links.

Click to see on Etsy!

Click to see on Etsy!

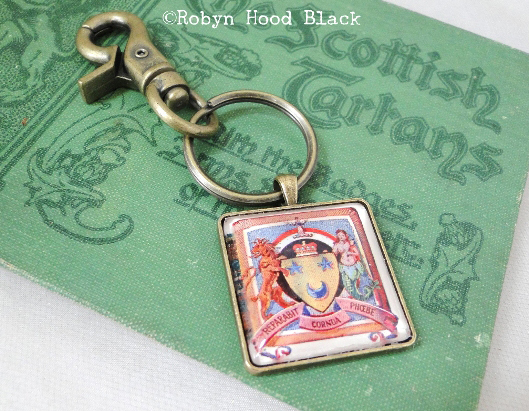
You don’t have to be at the very top of the nobility food chain to enjoy a family crest or coat of arms… I’m making up some Scottish coats of arms keychains/tags for the rest of us, too!  This one pictured happens to be for the family name, Scott.  The image was clipped from THE SCOTTISH CLANS – With the Badges, Arms, Slogans, etc. of the Clans (Circa 1930).

If you’re in the States and rising early like I am to enjoy the festivities (the bride is American, after all!), here’s a raised cup of Earl Grey to you!  And lovely wishes wherever you are in the world.

Ready For LITTLE WOMEN on PBS?

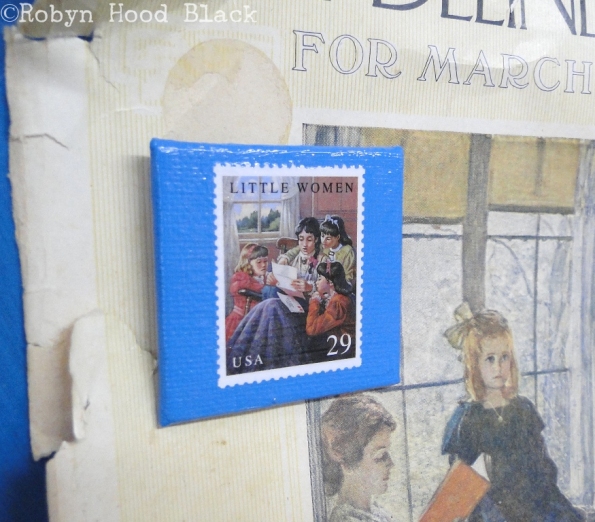
little women magnet artsyletters c 595

Ready for the LITTLE WOMEN 2-part miniseries on PBS?  It starts Sunday, May 13 – Mother’s Day!  If you’re a fan or have one on your gift list, here’s just the thing to hold that reading list to the fridge or filing cabinet!

The vintage US Postage Stamp on this magnet features Louisa May Alcott’s beloved “little women” from the book, first published in two volumes in 1868 and 1869. The stamp is part of a series of Children’s Classics issued in October of 1993 (Scott #2785-88), four 29-cent stamps honoring classic books for young readers. Click here for more info or to order from my Etsy shop.  (Or click here for a gift set featuring this and three other classic children’s book magnets featuring stamps!)

Found Poem-Mixed Media Workshop Highlights!

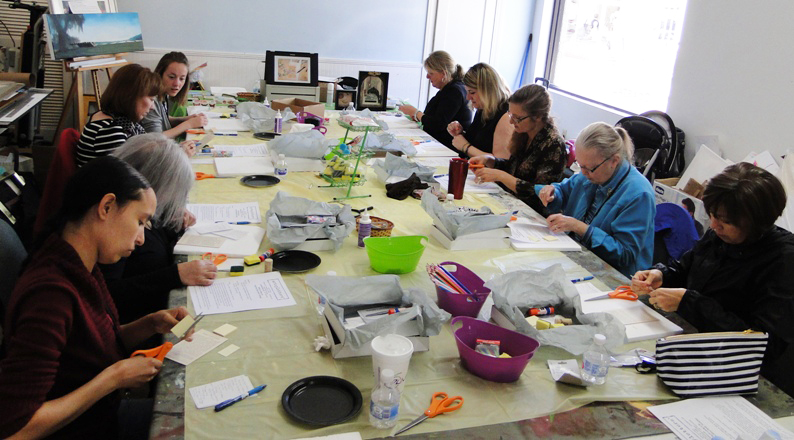
What fun!  I was honored and thrilled to present a found poem-mixed media workshop here in Beaufort last week, downtown at Coastal Art Supply, just a block from my studio. We had a full table with nine folks, with lots of earnest creating and snips of scissors. (This was a more intimate version of the Found Poem Makerspace workshop I presented in Bellingham, Washington, in the fall of 2016 with a few dozen children’s poets and other brave creative souls. Revisit that link for more of the step-by-step process.)

DSC07450 group shot workshop 2018 03 p a

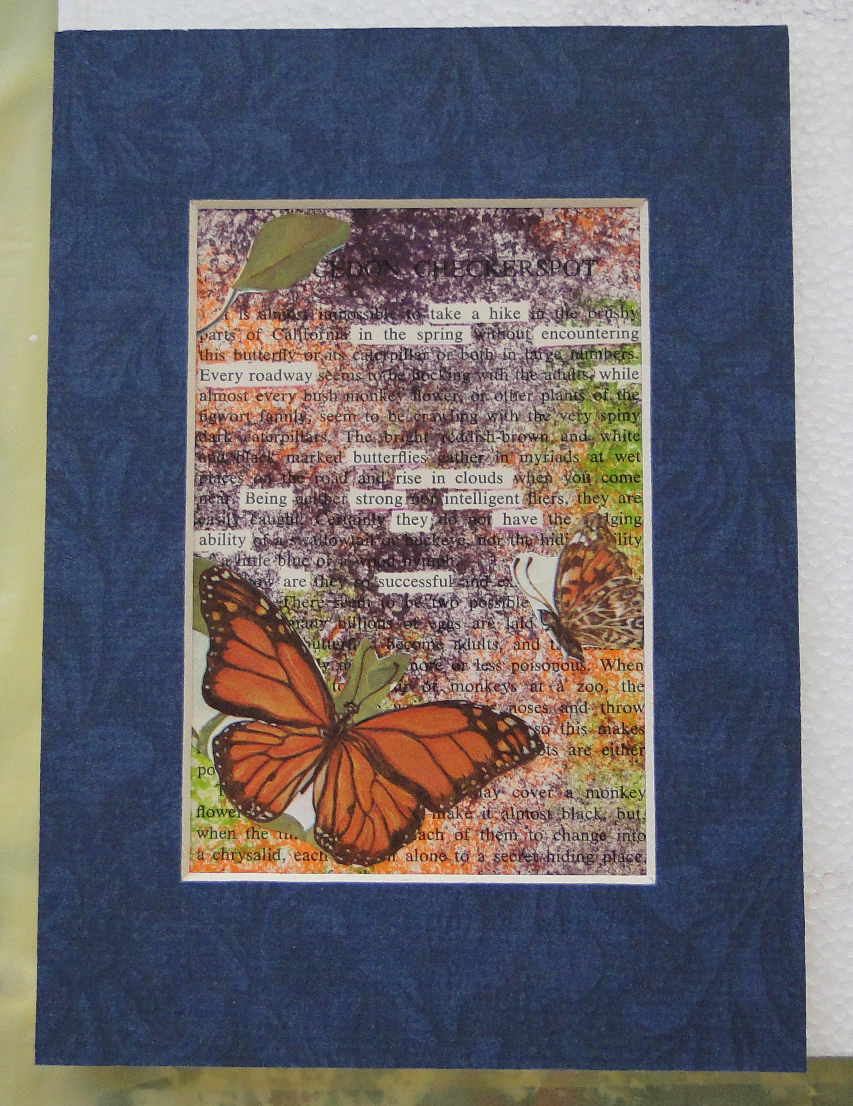
Our text for finding poems, also serving as our substrate (surface) were Edu-cards from the 1960s or so.  I offered a choice of “shell” or “butterfly,” with complementary vintage bookplates, postage stamps, and bits of stamped brass bling. Of course, the actual subject of the poem and visual elements were up to each artist!  That’s the fun part.  The art (made in just two hours!) was tucked into a 5X7 mat, ready to pop into a frame.

Jill made this gorgeous piece:

©Jill W.

©Jill W.

take a hike

in the spring encountering

Every roadway while

butterflies

rise in clouds

Being strong intelligent

they have 

ability

are

successful

©Jill W.

Yes!  Butterflies as strong and successful!

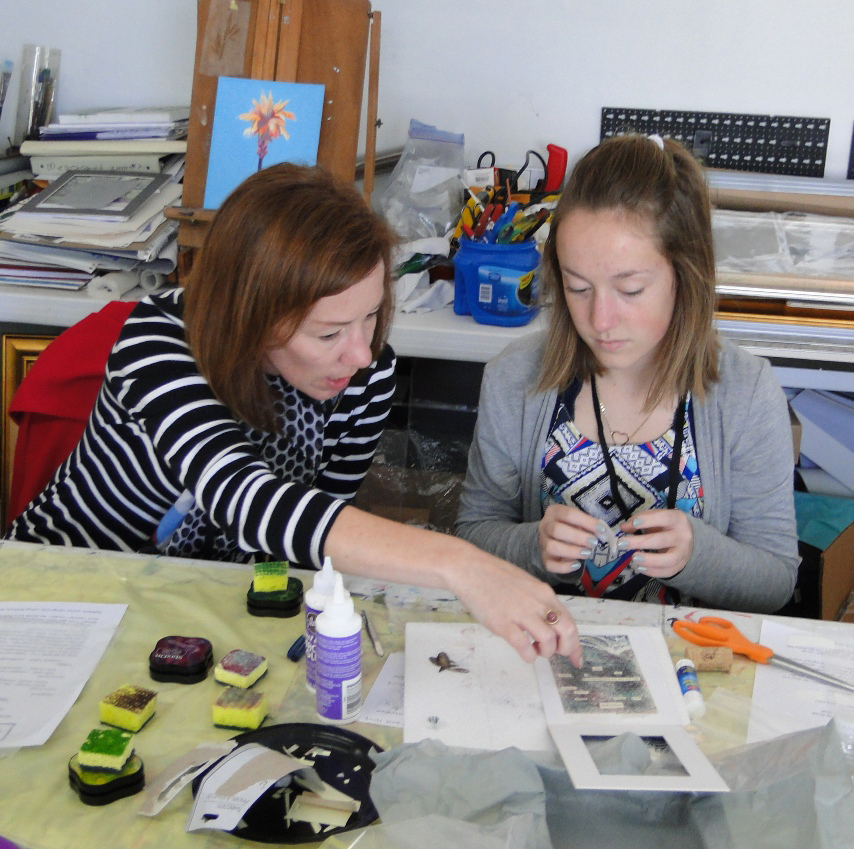
Jill and Sierra creating mixed media magic!

Jill and Sierra create mixed media magic!

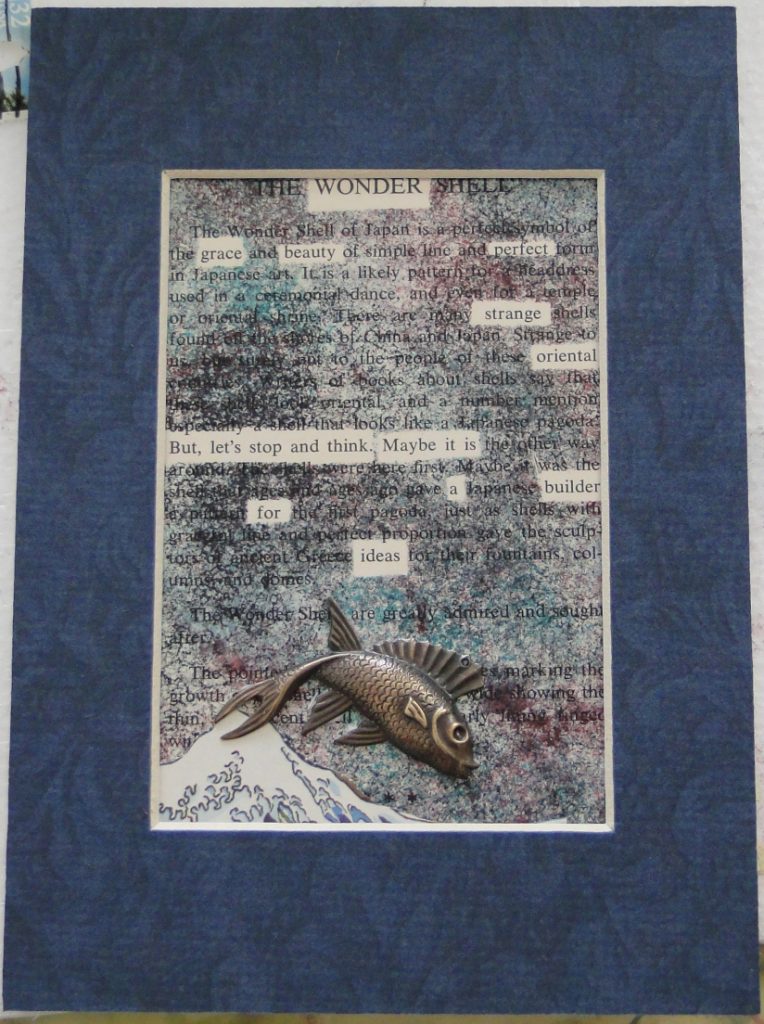
For her collage, Jill’s daughter Sierra conjured up WONDER, from an Edu-card with text about a shell.  (I’m featuring this poem over on my author blog for Poetry Friday, too!)

©Sierra W.

©Sierra W.

WONDER

grace    beauty   perfect

strange

oriental

But, let’s stop and think.  Maybe it is

a builder

for 

ideas.

©Sierra W.

I just love that – and the cool tones and mysterious palette Sierra chose to illustrate it.

Kim Poovey reads her found poem as her mom, Karen, adds finishing touches..

Kim Poovey reads her found poem as her mom, Karen, adds finishing touches..

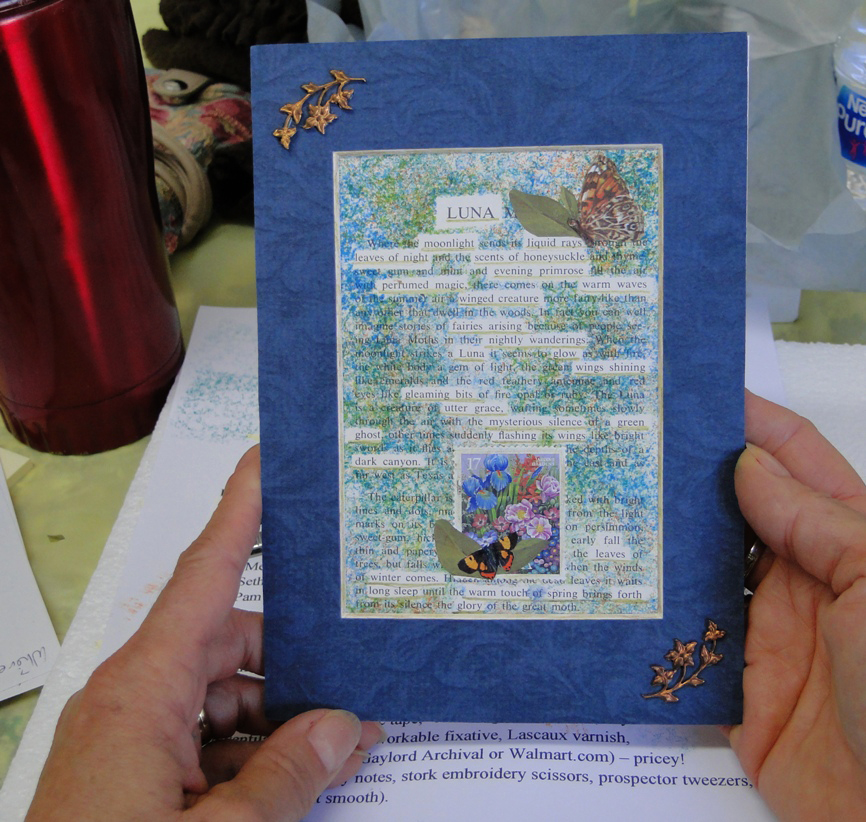
I was thrilled to have Kim Poovey, author and historic reenactress, join the party!  She came with her creative mother, Karen. In fact, we ended up with three mother-daughter sets – an extra fun element to our creative afternoon. Can you tell Kim is a novelist from her workshop piece below? She picked some lovely language, including “…winged creatures/fairies arising/ nightly wanderings/Luna glow….”

©Kim Poovey

©Kim Poovey

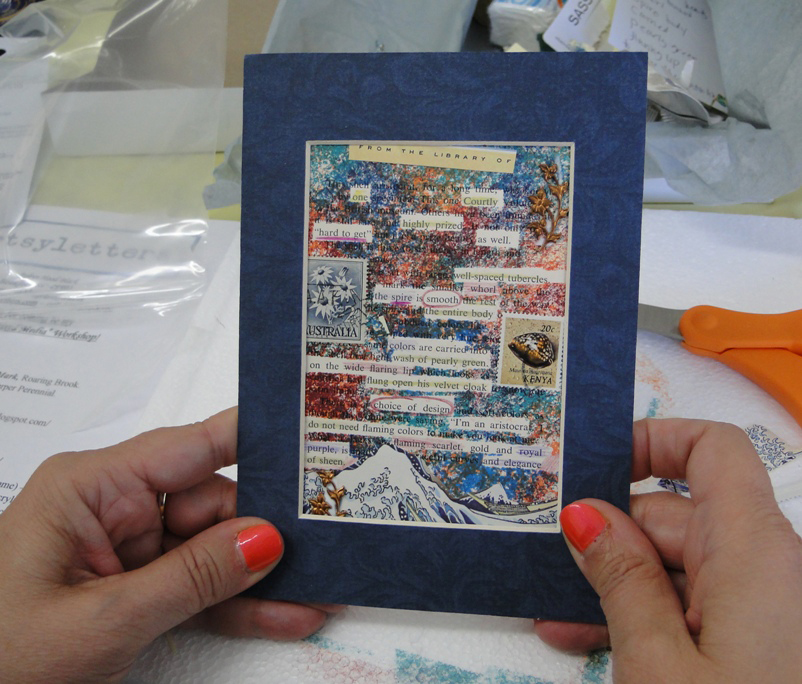
Here’s one last sample from the day – ALL of the pieces were unique and beautiful! This colorful creation is from Mikka Dutton:

©Mikka Dutton

©Mikka Dutton

I love that Mikka included the “From the Library Of” part of the bookplate(!) and followed that with some sassy introductory lines and images – “one courtly/highly prized/”hard to get”/as well…..”

I am always surprised and delighted by what folks come up with, and it’s magical to me to see individual personalities shine through the choices of words, elements, colors, and the particular combinations of all of these.

MANY thanks to all of our afternoon creators – and thank you for letting me share your work.  Thanks also for asking if I would offer another workshop sometime – I am DEFINITELY game!  :0) If you’d like me to keep your email address handy for info about future classes, toss me a line at Robyn@artsyletters.com

Art Workshop! Found Poem / Mixed Media class March 23 in downtown Beaufort, SC


Art Workshop with Robyn Hood Black of artsyletters March 2018 flyer 600 X 840

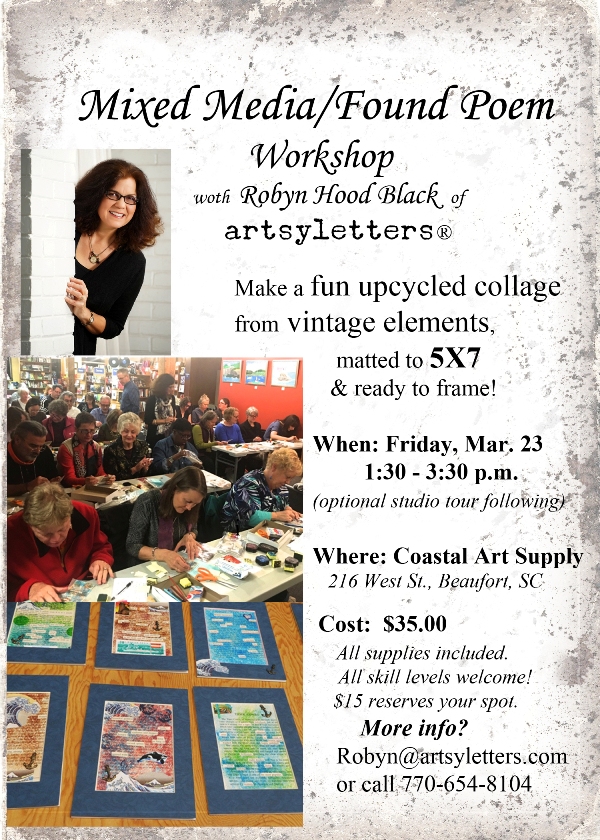
Want to learn fun tips and techniques to create a one-of-a-kind collage?  In this two-hour workshop, we’ll use vintage elements to make a found poem/mixed media piece matted to 5X7 and ready to frame.  Take what you learn with you to make more fun art on your own!  Several customers have asked for fun artsy-crafty class, and I’m delighted to offer this as my first class in Beaufort.

No experience required – just an interest in words, art, imagination, and magical creations.  I’ll supply scissors and adhesives & such in addition to all components.

Date:  March 23, 2018

Time:  1:30 p.m. to 3:30 p.m.

Location:  Coastal Art Supply, 216 West Street, Beaufort, SC

Cost:  $35 includes all materials.  $15 deposit, refundable until March 22.  Sign up at Coastal Art Supply or with Robyn – robyn@artsyletters.com or 770-654-8104

(Minimum number of attendees required; maximum number of 10.)

What’s in store?  It will be a more intimate version of the workshop I offered in Bellingham, Washington, just over a year ago.  Click HERE for the blog post about it, including links to posts from participants!

Hope to see you there,

Robyn

Magnet Making Unmasked! (Holiday How-To)


c star c sm

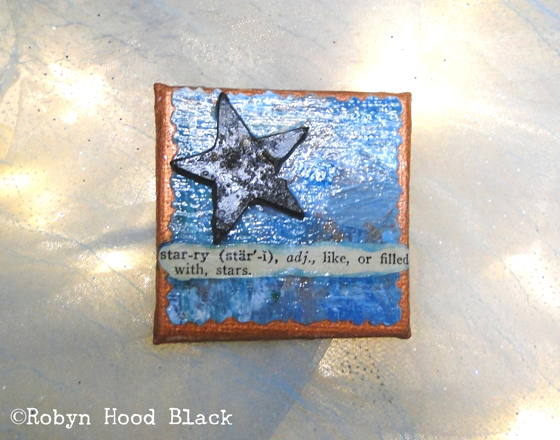
The magnets in my Etsy shop are pretty simple in design, but there are many steps and layers involved!  Here’s a peek behind the scenes of my latest line of letter magnets.

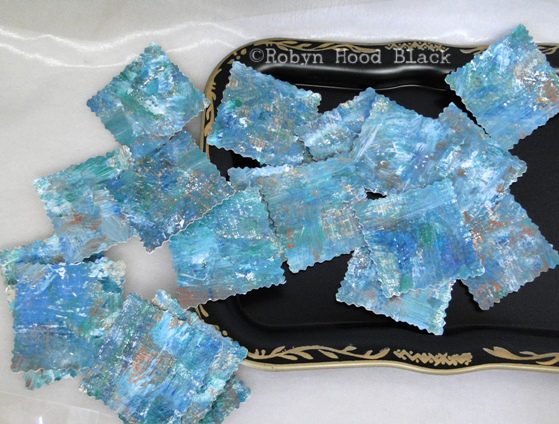
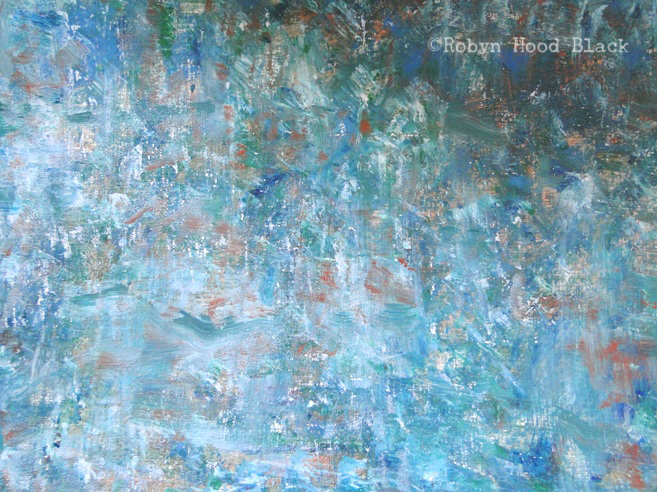
Lately I’ve been enchanted with verdigris, the gorgeous blue-green patina taken on by copper over time.  I wanted to create a background texture which suggests it. If I make mixed media backgrounds with regular art paper, I prepare it with a layer of gesso first.  For this project, I skipped that step by using Canson’s Canva-Paper, which has a linen texture and is pre-primed.

For loose “reference,” I simply brought up some Google images on my phone by typing in “verdigris.”  This is what I had finished on my drawing table a short while later:
DSC01581 c

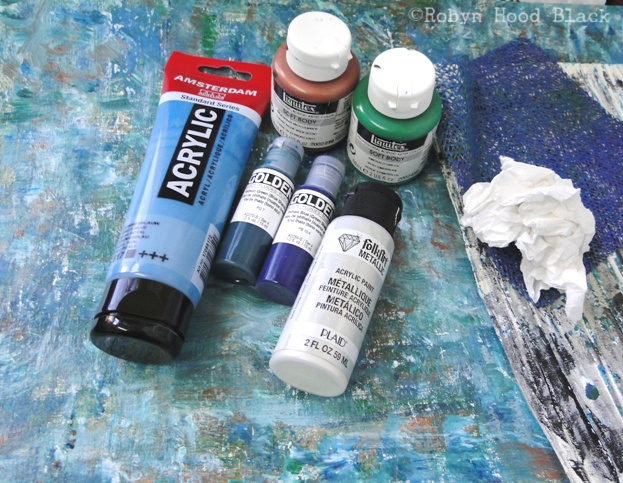
Now, because I liked the effect and wanted to remember how I made it, I took this shot below of the supplies I used – my recipe to refer back to.  I first mixed metallic copper paint liberally with acrylic gloss medium and painted big swaths across the blank paper.  When that was dry, I started painting the blues and greens (also with liberal gloss added!), and some metallic silvery white – letting layers dry or mostly dry in-between. Unless I wanted some scrunchy texture, which I made by blotting areas with a rubber-y square made for loosening jar lids, or humble wadded-up paper towels.  Oh, and I did a dab or two with a page from an old Italian wallpaper book as well.
DSC01559 c

Meanwhile, back at the ranch, I painted 2-inch by 2-inch canvas board squares with metallic copper acrylic paint (Amsterdam).  It didn’t go on as smoothly as the craft black I always use, but I just doubled up on the front sides. You can find the mini canvas panels at local arts and craft stores, or online.
DSC01611c

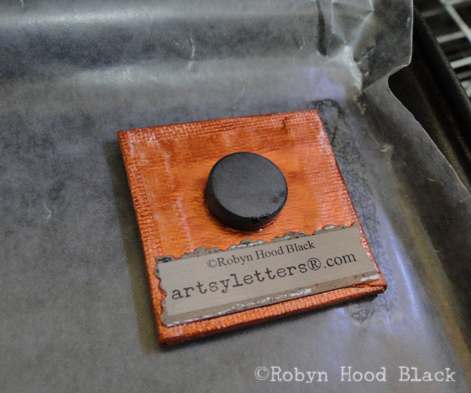
I always paint the backs first, and lay out everything on wax paper to inhibit sticking of stray drips.  When the paint is dry, I glue on a strong ceramic magnet.  (And my little logo piece.)  Hint:  I discovered a trick to helping the magnet “hold” while it’s curing – let it dry on a metal tray!  It will stay right on that little square board, attracted to the metal underneath. Cookie trays work, or any flat metal surface lurking about.

After these set up, I painted the back with a layer of acrylic gloss medium.Then, yep, more drying.

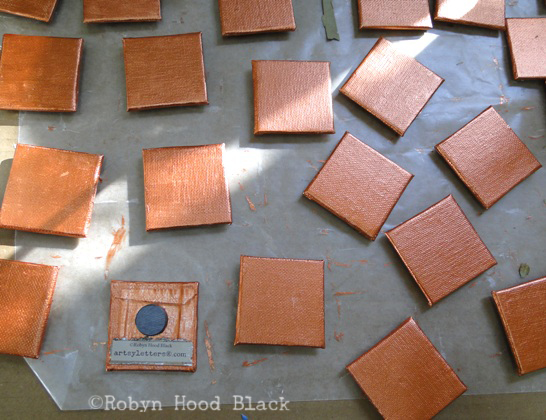
Then, I flipped those babies over and painted all the fronts with the copper paint.
DSC01608c

Then they had to dry.  Sigh.

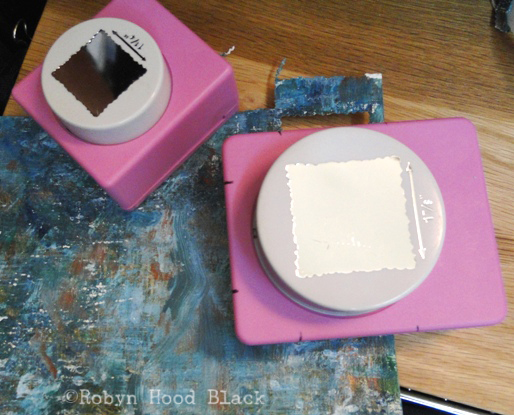
When my verdigris sheet was dry, I used deckle-edged paper stamps to make 1.75-inch squares.  I usually have to find these stamps used online.  But it beats trying to cut each edge with special scissors.
DSC01600c

DSC01607c

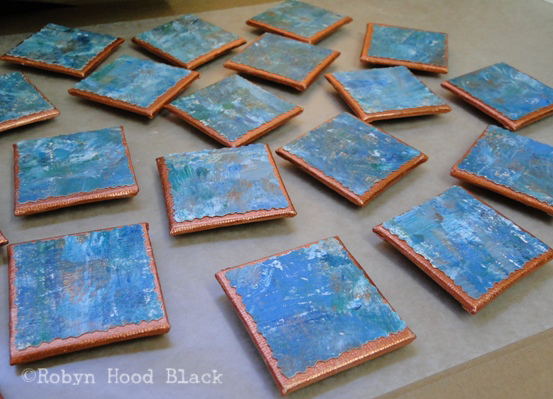
When the magnet tops were dry, I glued on each lovely textur-y square.
DSC01618c

And, added ANOTHER layer of gloss medium on top, being sure sides were coated all the way around as well.
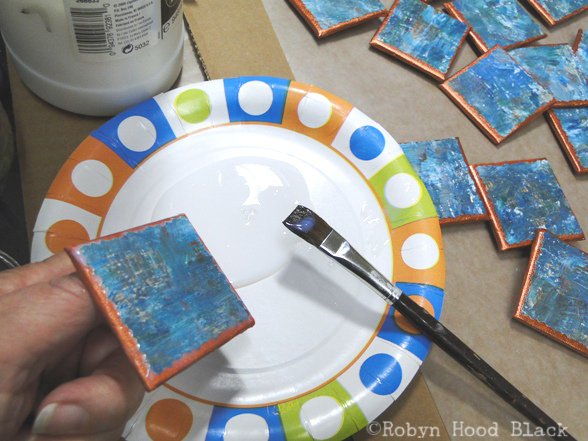
DSC01624c

Then – you guessed it – they had to D-R-Y.

Before I even started on all of this, though, I had rustled up some wonderful metal letters made out West by an artisan/fellow Etsian, distressed to look really old.  (The letters, not the gentleman.  Well, I assume not the gentleman.) I had bought a few alphabets’ worth a while back.  I do love the rust, but figured magnet recipients might not enjoy the powdery iron-y mess, so… acrylic gloss to the rescue again.  I painted all the backs and let the letters dry overnight on wax paper, and then painted all the fronts the next day. And let them dry!

So my letters were shiny-rusty.  (Same treatment for some small metal stars I had also purchased.)

When EVERYTHING was dry, I attached each letter to a prepared magnet and kept it flat while the glue dried.

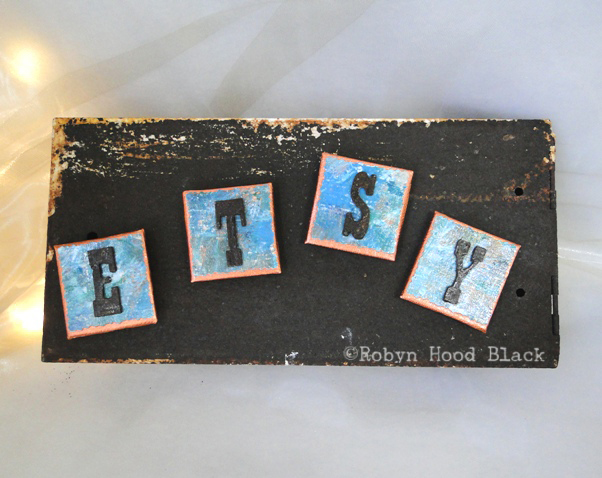
Finally… Voilà!
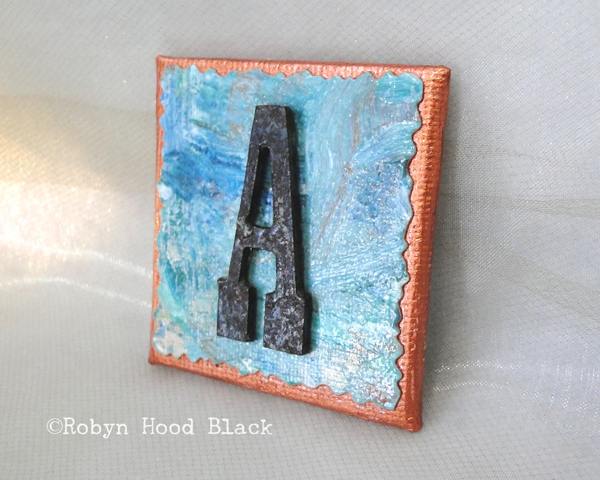
DSC01811 c sm

ETSY letters verdigris smallc

To adapt this adventure for a holiday gift-giving project, you can simplify it, of course.  If working with kids, be mindful of adhesives and fumes and choose non-toxic materials.  Young creators can make letters or any designs out of cardstock, or they might enjoy clipping items from old texts or magazines to recycle.

No time to make your own?  Well, that’s why I’m here! ;0)

Feel free to peruse lots of new magnets in my Etsy shop. Go on, let them pull you in…
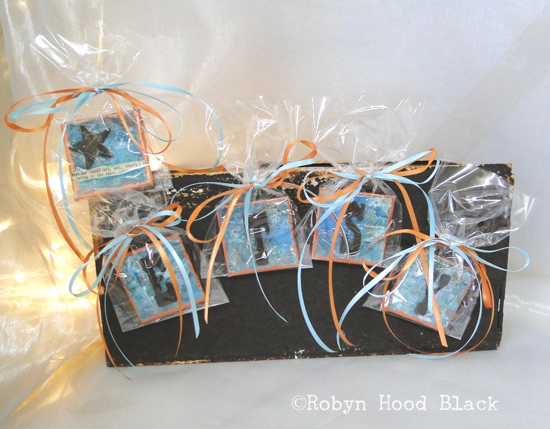
DSC01911c sm

Happy Thanksgiving!  This Black Friday through Cyber Monday weekend, any order of $25 or more in my Etsy shop ships FREE! :0)
Happy World Teachers’ Day!

DSC08126 teacher gift packs pic oct 2017 c

Many thanks to ALL the teachers of the world!

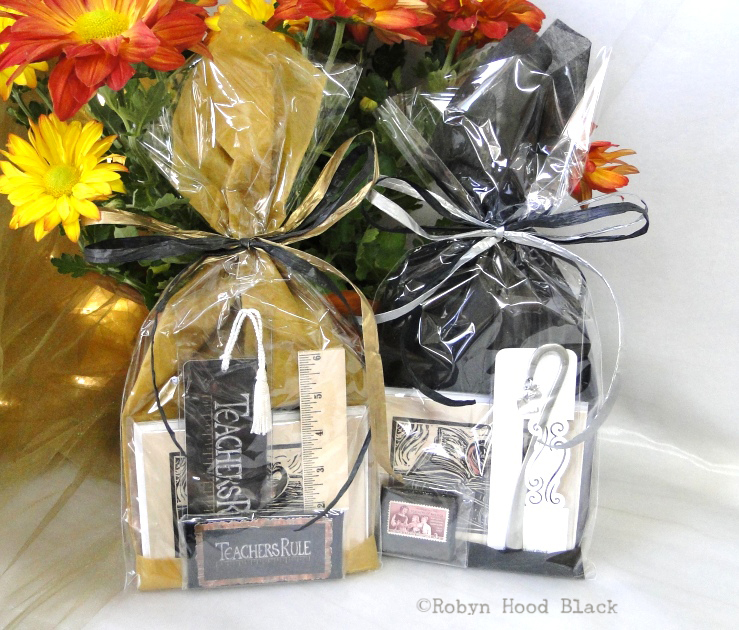
If you need a creative “thank you” for your favorite teacher, I have a few items in my Etsy shop, including TWO ready-made gifts packs! The brand-new Teacher Gift Pack features my apple and books note cards (8 blank cards & envelopes), a hearty pewter shepherd’s hook bookmark with apple and book charms, and a handcrafted magnet with an authentic mid-century postage stamp celebrating education.

The TEACHERS RULE pack includes my apple and books note cards, TEACHERS RULE glossy cardstock bookmark with tassle, a handcrafted TEACHERS RULE magnet, and a 6-inch ruler, just for fun.

Items in the gift packs are also sold separately.

Learn more about UNESCO World Teachers’ Day here.  And, if you’re reading this, thank a teacher! :0)