‘Tis the season for holiday marketplaces. This past weekend, I had the privilege of exhibiting and selling my wares at the All Saints Fall Festival,
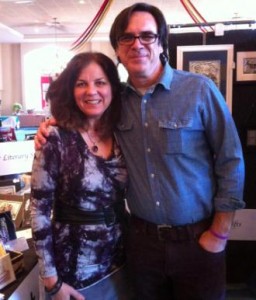
Thanks, Brother-in-law!
a church-sponsored art and gift show benefitting the youth of All Saints Episcopal Church in Atlanta, where my brother-in-law Tim happens to be a new priest working with the youth. (Thanks for letting me know about the show, Tim!)
This was the first time I’ve done an art show in an indoor venue. Ahhh – no worries about wind, rain, or fluctuating temperatures! I could get used to that. The space was smaller than the standard 10 X 10 outdoor show space, but I culled some items and squeezed in a bit.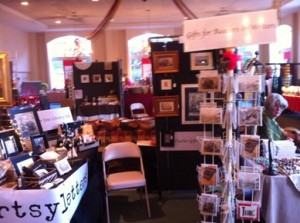
Probably my favorite investments for the few shows I’ve done this fall have been:
A decent tent. I ordered a Caravan tent and have been please with how sturdy it is and how nice it looks. It was pricier than what you’ll find at WalMart, but I think it’s worth it.
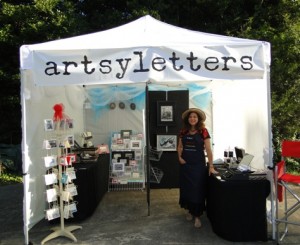
Decent panels. I knew I wanted a couple of panels to hang framed pieces on, and I did some online research. The Pro Panels system seemed to get consistently good reviews. I took my hubby to a couple of art shows and had him help me compare the carpet colors on Pro Panels in different exhibitors’ booths! We liked the dark gray the best, so that’s what I ordered for mine. I’m glad I got the six-foot ones (not the very tallest) because I can just squeeze these into the back of my 2004 Honda Pilot.
A narrow display table (and a smaller one as well). I found a lightweight long, narrow table for trade show use and it’s been a great investment and easy to carry and set up. Google “trade show displays” and compare items from different vendors. Also, shop around online for a good price on table cloths. I opted for classy old black. (If they’re a bit large, just tuck them up and in with bulldog clips or safety pins.)
Magazine racks. I found lightweight folding magazine racks online and they’ve been great to set up displays of cards and small items in the outdoor tent spaces. 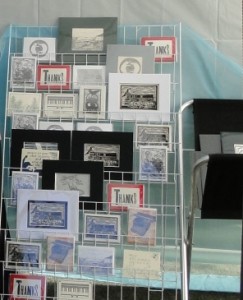 It’s easiest to keep them in the box for transport, because those wire “shelves” will otherwise catch on everything. A folding display rack (lightweight metal legs and canvas) available from online art supply stores is perfect for matted prints.
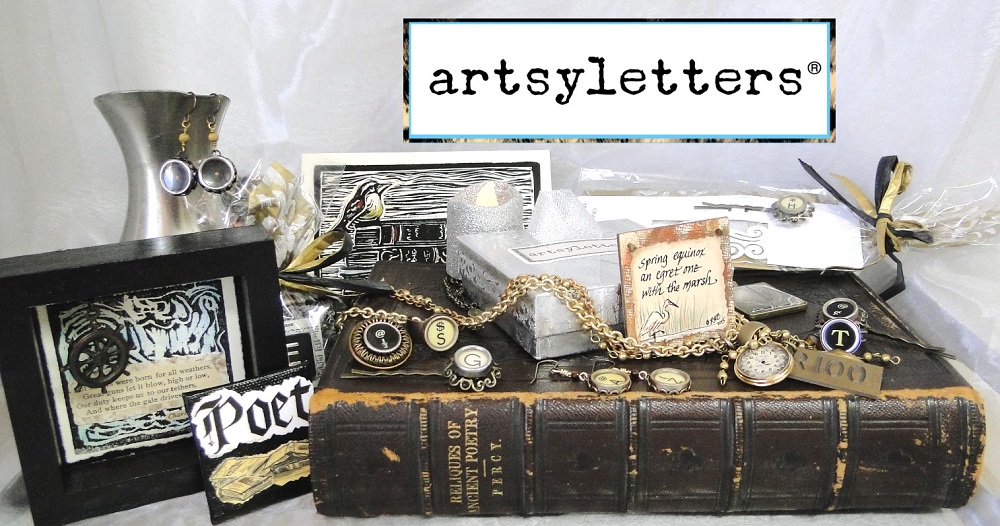
Banners. I had a canvas banner made to stretch across the top of my tent with “artsyletters” big enough to catch the attention of folks walking around. Then for this indoor show, I had one made about half that size to stretch across my table. 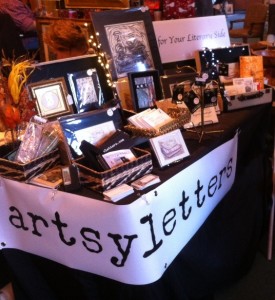 I read recently that it’s great to have your business name outside your booth AND inside of it, so I’ll keep using both. In my neck of the woods, you can get a nice long banner for less than $100 and a shorter one for less than $50 at local sign/printing shops.
Signs. After putting up a couple of hand-made ones, I had a few smaller signs made with real typesetting with phrases such as “Art for Your Literary Side,” “Gifts for Readers and Writers,” “Teacher Gifts,” and “Book Club” printed on them. They’re printed on a strong foam core type base, so they are not indestructible – but they’re lightweight and can be stuck any place with Velcro.
Lights. I’ve gotten positive comments on some delightful little battery-operated strings of lights I picked up at a shop in Greenville, SC. Should have gotten more. They were about $10 apiece and you can bend or wrap them around anything. I also use a few battery-operated “eye” lights I can twist around the tops of the panels. Found some on clearance at Office Depot and a couple more at Target.
Vintage, repurposed items. For my bookmarks, I found two vintage metal receipt holders. 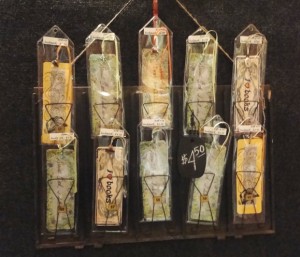 These would have been used years ago in a general store for families to keep track of their running tabs. They weren’t cheap – maybe $35-$40 apiece? – but they are so unique and they draw customers in to investigate. They also perfectly display the bookmarks.
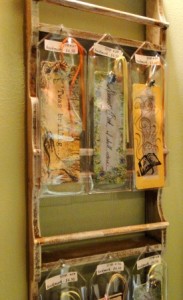 Also, I found an chic-shabby shallow hanging shelf with great chippy paint. It fits right beside the receipt holders on one side of my panels. A few small nails in the outside edges of the racks, and, Voilà! More bookmark display space.
Oh – and when I display small refrigerator magnets, a small mid-century metal vanity shelf I found in an antique store does the trick! It even has little sliding doors I can store more inventory in, and it’s a nice height for the table. 
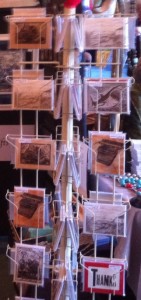 Probably my favorite item is an old spinning card rack I got many moons ago from a store closing its doors. It holds 48 packs of cards and is narrow enough for easy transport, plus it comes apart and is easy to set back up. And you can put a sign on top! (I’d given this to my son, now 17, to put his baseball caps on – then took it back when I started my art business this fall. Sorry, Seth.)
I transport my items for sale in plastic tubs that can be stored under my tables. Remember, rain makes all the ground wet! So you don’t want cardboard boxes as your only storage option.
The cost of setting up a travelling shop can be a little daunting, but sales at my first couple of shows this fall just made up the cost of display fixtures. I think it was a good investment.
If you’re an exhibitor, what do you think are the most important things to think about when setting up for art shows? Do you have some favorite ways to display your work?
Do tell! :0) 
 DISNEY’S DOGS, concepted and designed by Ramara Khalaf and published by Disney editions, offers a great peek into famous and not-so-famous Disney canids throughout the decades. The book appears to be out of print now, but you might find used copies online.