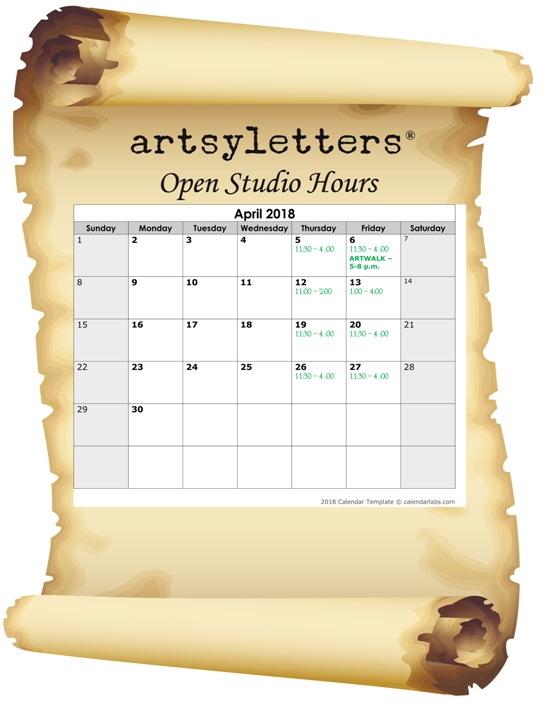
Open most Thursdays and Fridays 11:30 to 4:00; other hours by whim and appointment. (Please check above Calendar to confirm dates we’re open.)
My Etsy shop is open 24/7!
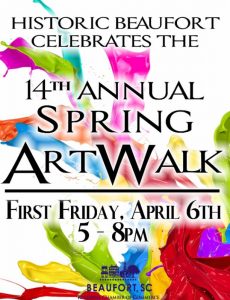
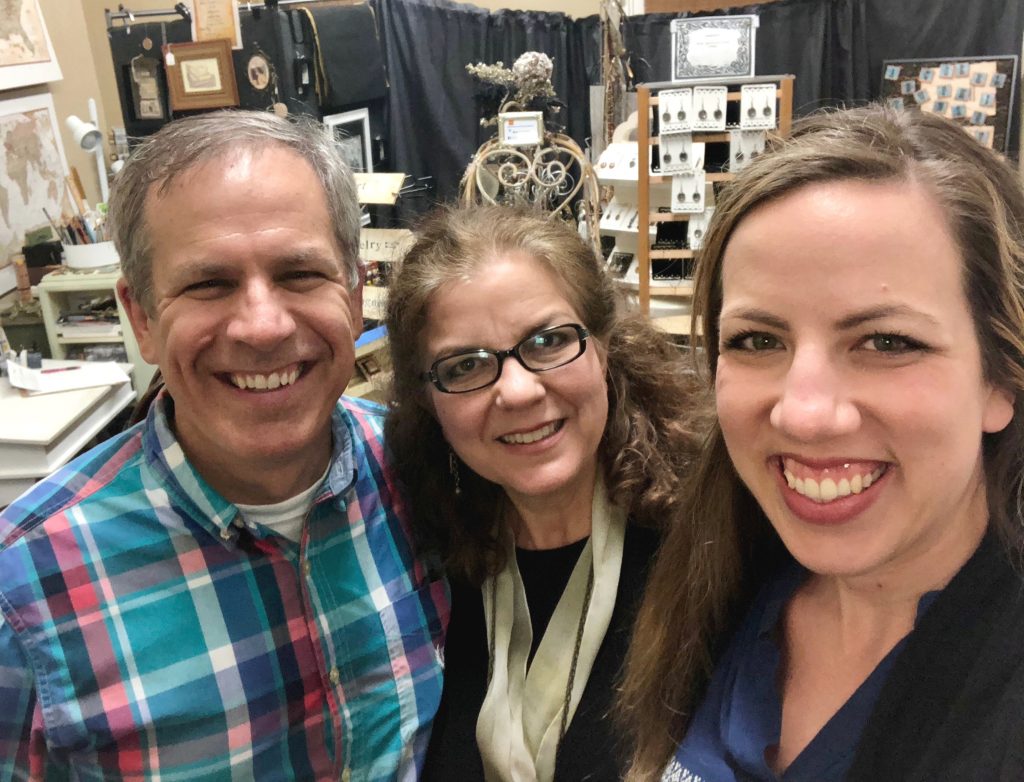
THANK YOU to all who came up the steep stairs to make artsyletters part of your Spring ArtWalk adventure in downtown Beaufort Friday night! (& Special Thanks to our visiting daughter, Morgan, for all the help and for putting up with the crazy schedule!)
Bay Street was lively with galleries and shops open til 8 p.m., a car show, nostalgic family-friendly games, music, wine and treats of course, and P-E-R-F-E-C-T weather.
Here’s a taste of our first-ever artsyletters “Community Story-Poem.” I set up a flip chart with an invitation to anyone to add a line. It’s National Poetry Month, after all. (Morgan started us off.)
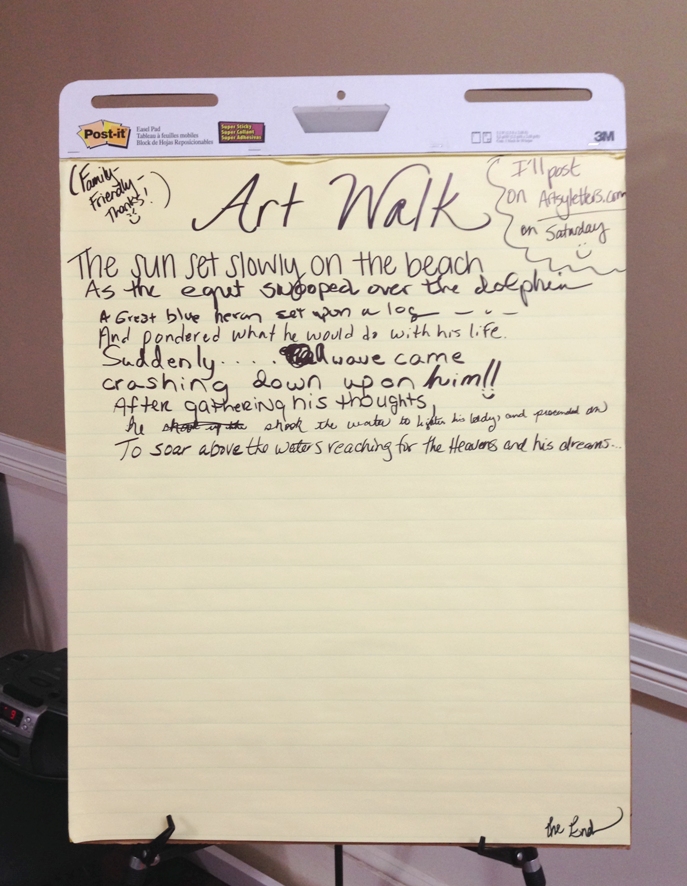
The text reads:
The sun set slowly on the beach
As the egret swooped over the dolphin
A great blue heron sat upon a log …
And pondered what he would do with his life.
Suddenly … a wave came
crashing down upon him!!
After gathering his thoughts,
he shook the water to lighten his body, and proceeded on
To soar above the waters reaching for the Heavens and his dreams ….
A nice way to celebrate Springtime in the Lowcountry! Thanks to all the creative contributors.
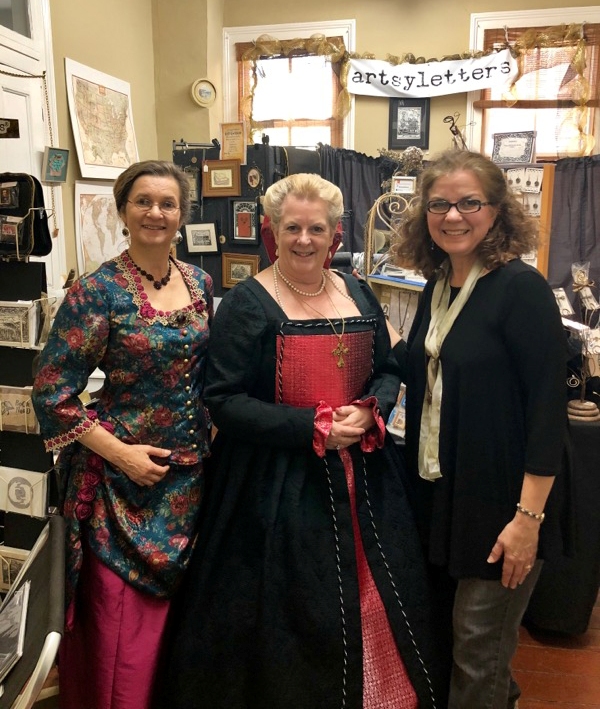
We had lots of wonderful visitors, including some special time travelers. The lovely, lively, incomparable Kim Poovey brought Victorian flair to the evening, and she also brought Anne of Austria, Queen of Spain from 1549 to 1580 (Lynn Bristow). The first time I’ve had royalty in the shop! (Be sure to catch one of her royal visits to the Santa Elena History Center.)
Also, thanks to our dear friends and bona fide artsyletters patrons, Jeff and Jill Weaver. Jill even left with a bit of new (& OLD!) bling… an antique endpapers necklace featuring a vintage optical lens, antique marbled papers from an 1855 book, and some fun vintage gold circles swirling around with the pattern.
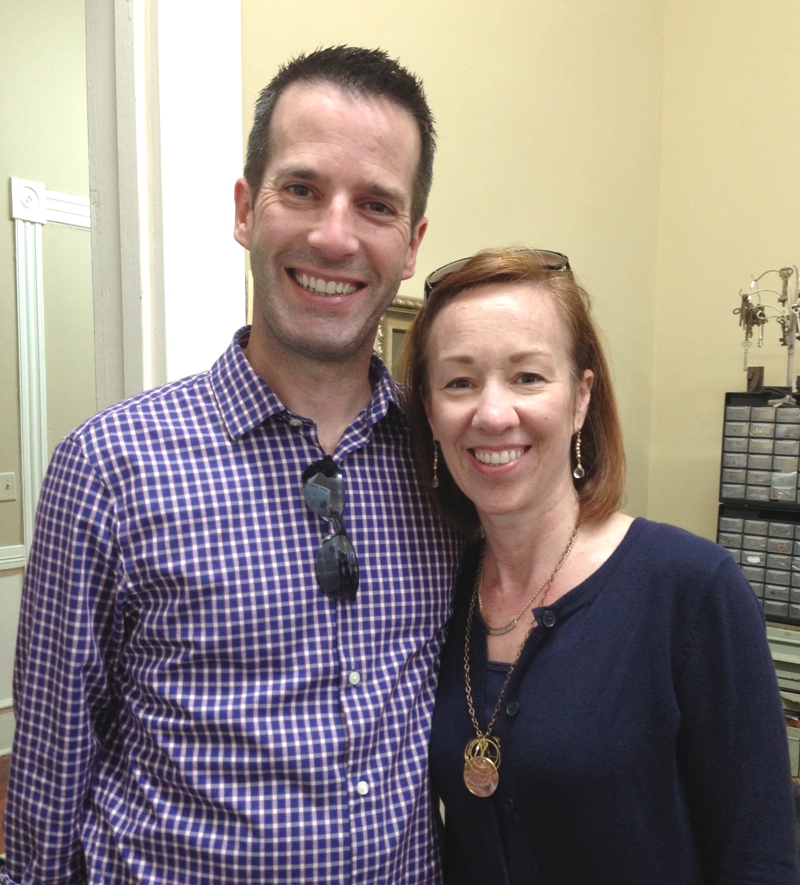
Glad to see that piece go to a good home!
New shop hours are MOST Thursdays and Fridays, 11:30 to 4:00, with some Saturdays by whim or appointment. (I’ll post here and on Facebook if hours differ for a particular week because of travel.) My Etsy shop is open 24/7, and thanks to everyone Friday night, I need to get busy and restock some art! :0)
Here’s to your own soaring dreams this Spring..
What fun! I was honored and thrilled to present a found poem-mixed media workshop here in Beaufort last week, downtown at Coastal Art Supply, just a block from my studio. We had a full table with nine folks, with lots of earnest creating and snips of scissors. (This was a more intimate version of the Found Poem Makerspace workshop I presented in Bellingham, Washington, in the fall of 2016 with a few dozen children’s poets and other brave creative souls. Revisit that link for more of the step-by-step process.)
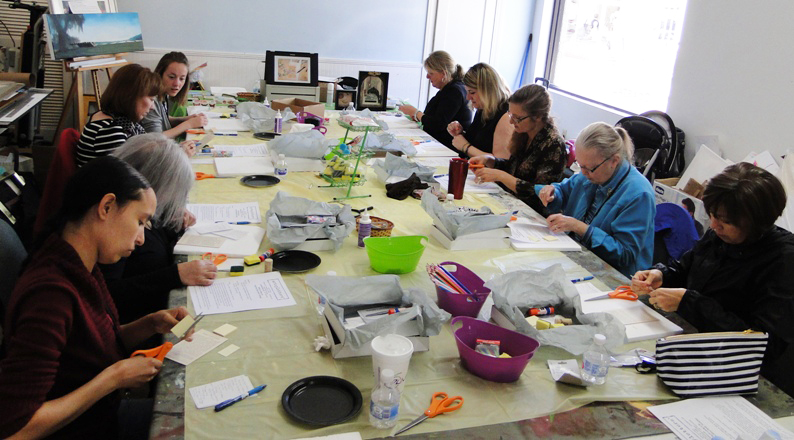
Our text for finding poems, also serving as our substrate (surface) were Edu-cards from the 1960s or so. I offered a choice of “shell” or “butterfly,” with complementary vintage bookplates, postage stamps, and bits of stamped brass bling. Of course, the actual subject of the poem and visual elements were up to each artist! That’s the fun part. The art (made in just two hours!) was tucked into a 5X7 mat, ready to pop into a frame.
Jill made this gorgeous piece:
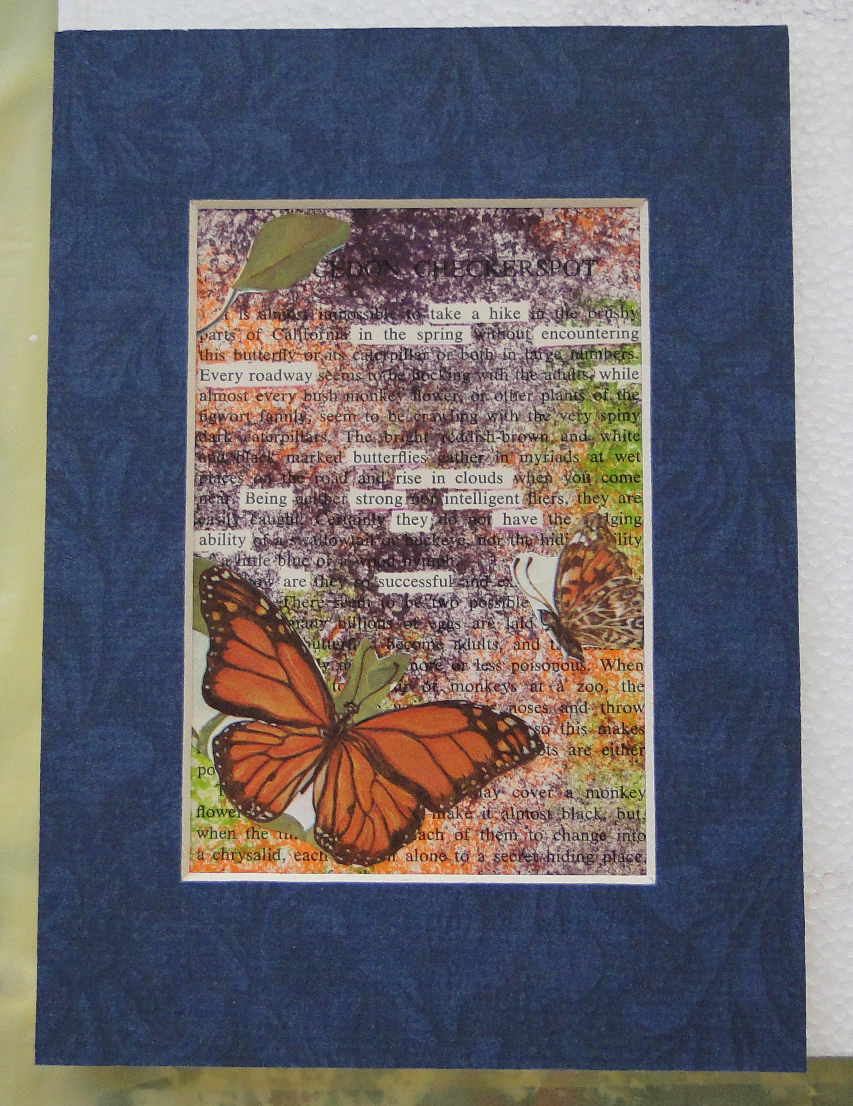
©Jill W.
take a hike
in the spring encountering
Every roadway while
butterflies
rise in clouds
Being strong intelligent
they have
ability
are
successful
©Jill W.
Yes! Butterflies as strong and successful!
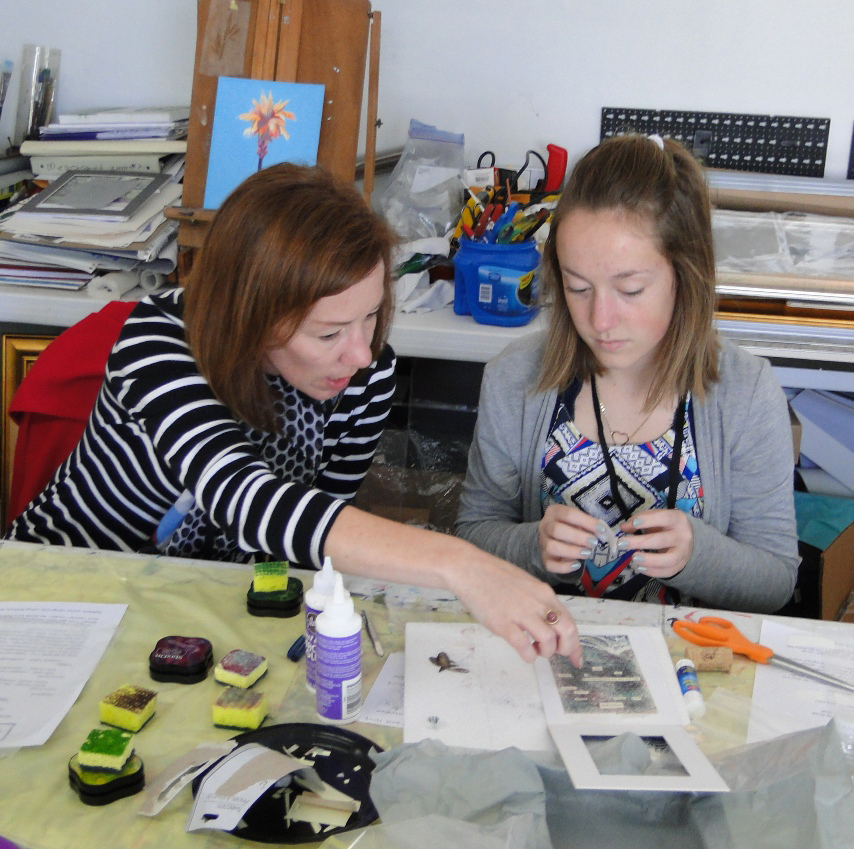
Jill and Sierra create mixed media magic!
For her collage, Jill’s daughter Sierra conjured up WONDER, from an Edu-card with text about a shell. (I’m featuring this poem over on my author blog for Poetry Friday, too!)
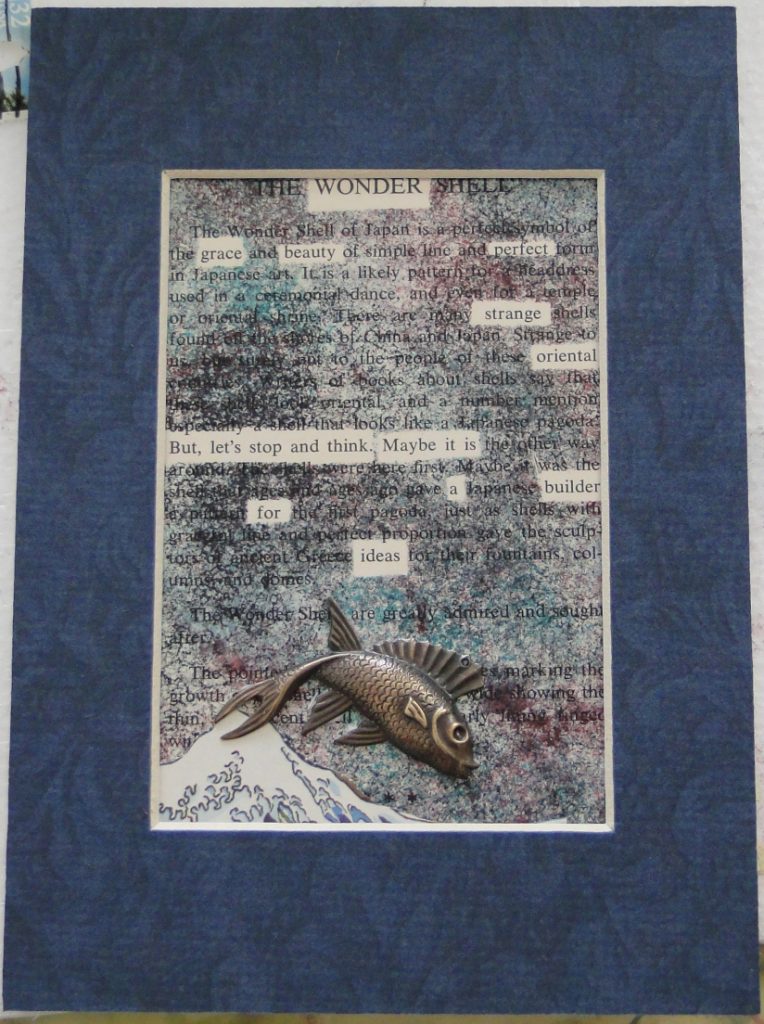
©Sierra W.
WONDER
grace beauty perfect
strange
oriental
But, let’s stop and think. Maybe it is
a builder
for
ideas.
©Sierra W.
I just love that – and the cool tones and mysterious palette Sierra chose to illustrate it.
Kim Poovey reads her found poem as her mom, Karen, adds finishing touches..
I was thrilled to have Kim Poovey, author and historic reenactress, join the party! She came with her creative mother, Karen. In fact, we ended up with three mother-daughter sets – an extra fun element to our creative afternoon. Can you tell Kim is a novelist from her workshop piece below? She picked some lovely language, including “…winged creatures/fairies arising/ nightly wanderings/Luna glow….”
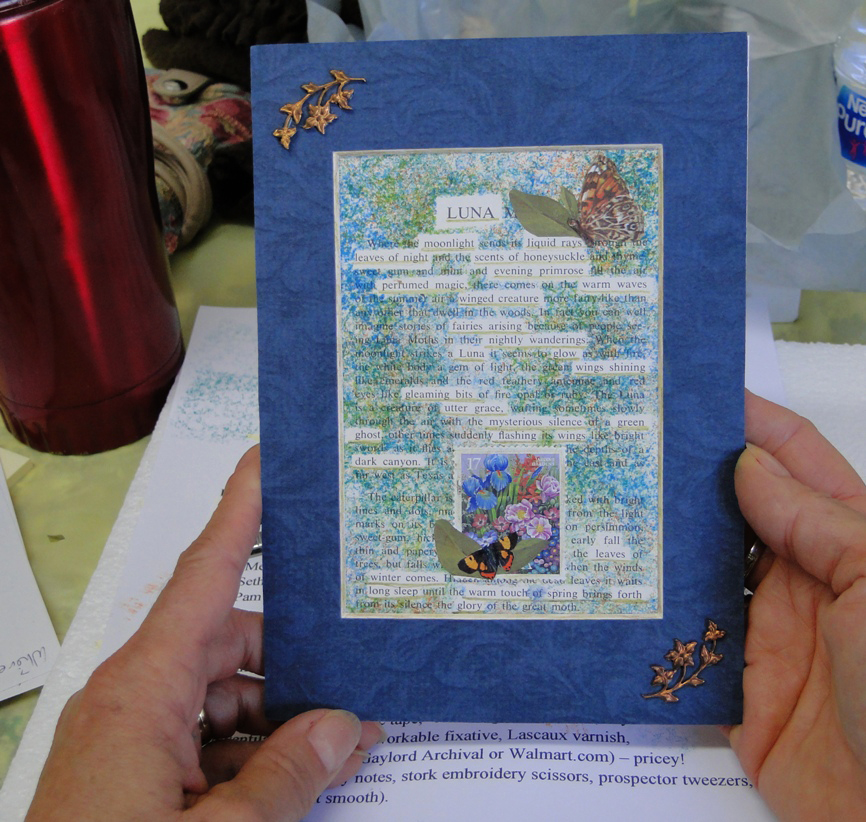
©Kim Poovey
Here’s one last sample from the day – ALL of the pieces were unique and beautiful! This colorful creation is from Mikka Dutton:
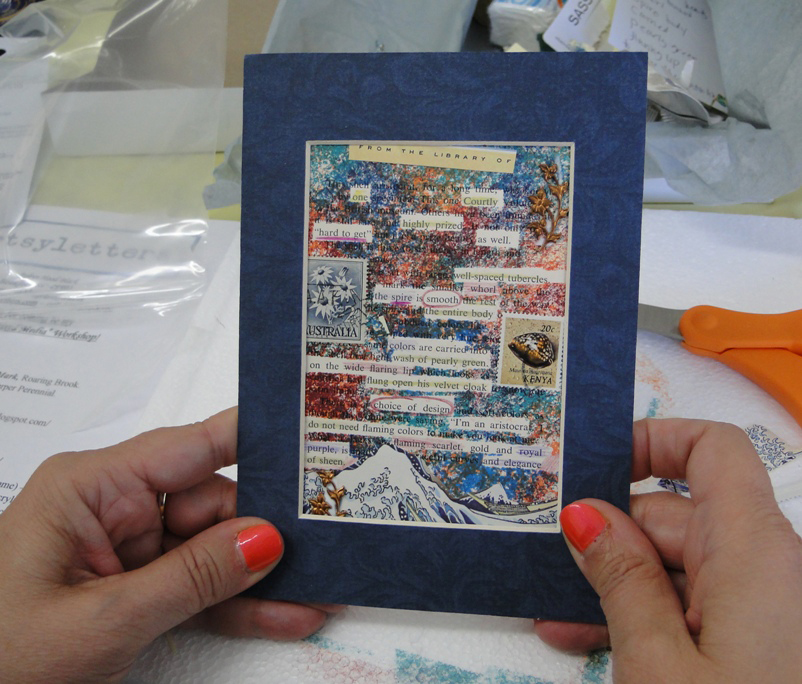
©Mikka Dutton
I love that Mikka included the “From the Library Of” part of the bookplate(!) and followed that with some sassy introductory lines and images – “one courtly/highly prized/”hard to get”/as well…..”
I am always surprised and delighted by what folks come up with, and it’s magical to me to see individual personalities shine through the choices of words, elements, colors, and the particular combinations of all of these.
MANY thanks to all of our afternoon creators – and thank you for letting me share your work. Thanks also for asking if I would offer another workshop sometime – I am DEFINITELY game! :0) If you’d like me to keep your email address handy for info about future classes, toss me a line at Robyn@artsyletters.com
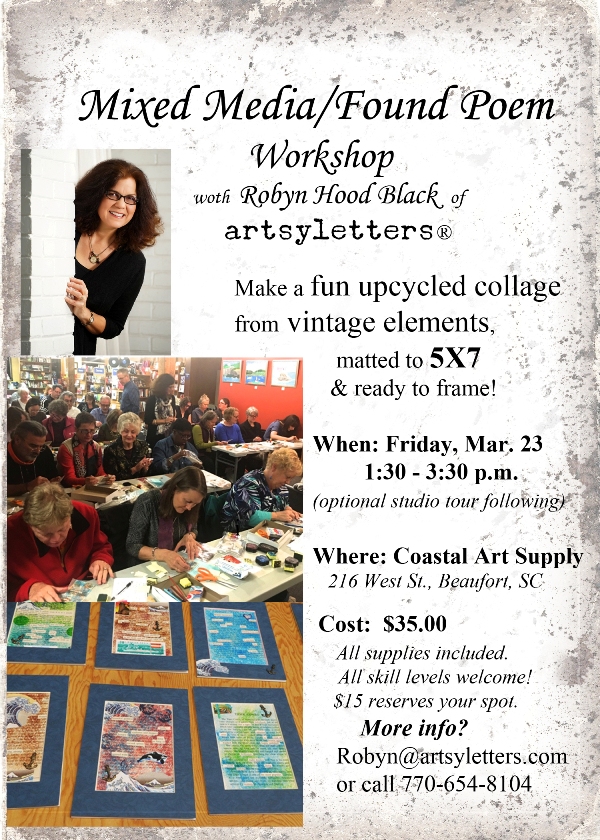
Want to learn fun tips and techniques to create a one-of-a-kind collage? In this two-hour workshop, we’ll use vintage elements to make a found poem/mixed media piece matted to 5X7 and ready to frame. Take what you learn with you to make more fun art on your own! Several customers have asked for fun artsy-crafty class, and I’m delighted to offer this as my first class in Beaufort.
No experience required – just an interest in words, art, imagination, and magical creations. I’ll supply scissors and adhesives & such in addition to all components.
Date: March 23, 2018
Time: 1:30 p.m. to 3:30 p.m.
Location: Coastal Art Supply, 216 West Street, Beaufort, SC
Cost: $35 includes all materials. $15 deposit, refundable until March 22. Sign up at Coastal Art Supply or with Robyn – robyn@artsyletters.com or 770-654-8104
(Minimum number of attendees required; maximum number of 10.)
What’s in store? It will be a more intimate version of the workshop I offered in Bellingham, Washington, just over a year ago. Click HERE for the blog post about it, including links to posts from participants!
Hope to see you there,
Robyn
Starting off the New Year with a haiku for every season by Kobayashi Issa ( 1763-1828), each on a 2 1/2 X 3 1/2 mini poem card! These feature translations by David G. Lanoue in calligraphy by yours truly on color-altered altered images of an antique map. Click here to see these in my Etsy shop, or click here for more about them in my author blog post!
Perfect to tuck in a greeting card or Valentine, or stock up for Poem in Your Pocket Day!
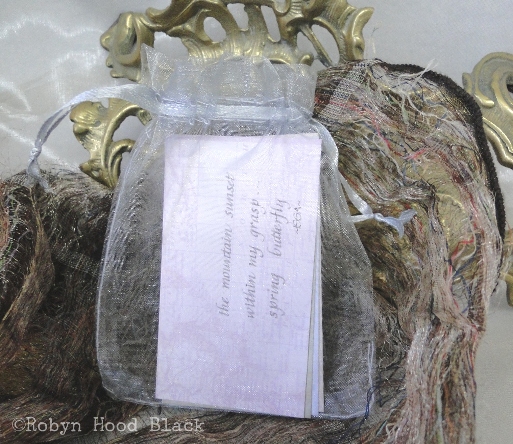
Wishing you blessings in each season this year.
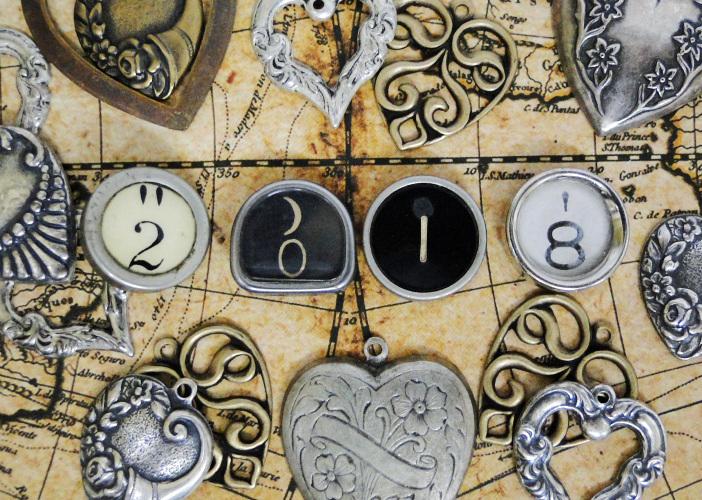
Greetings, Bookish Art Lovers!
I hope your year is off to an inspiring start.
After lots of holiday traveling, I’m slowly getting my 2018 ducks in a row. New items appearing in my Etsy shop in coming weeks. :0)
For my Lowcountry friends, we’ll be open in downtown Beaufort on February 2nd for First Friday (5-ish to 8-ish p.m.). Perfect for your literary Valentine shopping!
After that, Spring hours will kick in on Thursdays through Saturdays most weeks. (Just look for my sandwich sign down on the sidewalk. And, remember, my Etsy shop is open 24/7!)
Enjoy lots of cozy reading time this January with a good book, a steaming mug, and your favorite cuddly canine or feline companion.